Crochet Christmas Tree Ornament Pattern Guide & Techniques
Master the crochet Christmas tree ornament pattern with verified dimensions, seamless cone construction, blocking tips, and batch yardage formulas.
WeLovePattern Editorial Team
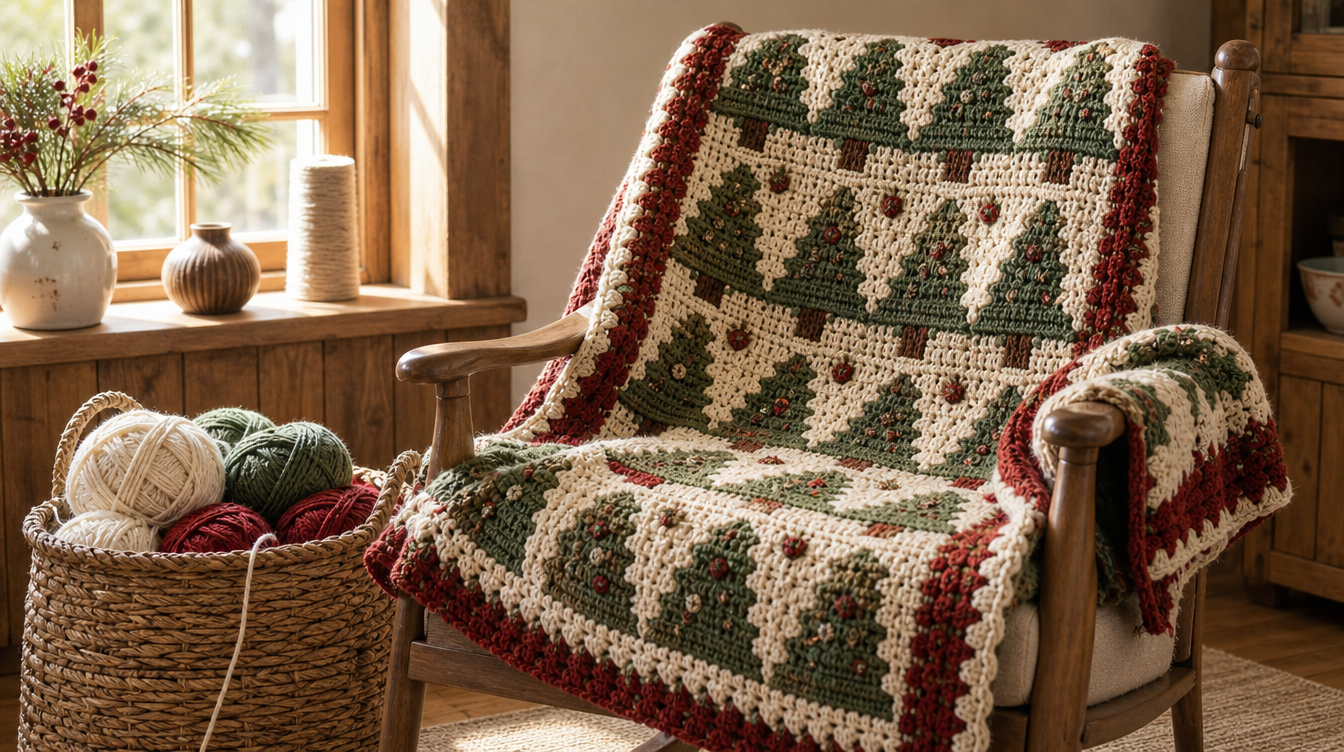
Architectural Anatomy of a Crochet Christmas Tree Ornament
Designing and stitching handmade holiday decorations requires a deliberate balance of structural rigidity, precise stitch tension, and aesthetic balance. When searching for a crochet christmas tree ornament pattern, makers frequently encounter two distinct structural styles: two-dimensional flat motifs (often used as appliques, gift toppers, or minimalist hanging decorations) and three-dimensional stuffed cone ornaments (worked in the round as classic amigurumi). While both styles evoke the iconic silhouette of an evergreen, each presents unique physical and mechanical demands on your yarn and hook combination.
A hanging ornament is subject to continuous gravitational pull while suspended from tree branches. Over time, poor fiber choices or loose stitch architecture will result in distorted triangular points, sagging branches, or bulging conical bodies. To maintain a crisp, professional presentation year after year, crafters must treat ornament construction with the same technical rigor applied to garments or dimensional toys. Fiber selection serves as the foundation of this structural integrity.
Mercerized cotton yarn possesses higher tensile strength and structural rigidity than unmercerized cotton, wool, or standard acrylic, mitigating distortion under gravity when suspended from tree branches. The mercerization process removes excess fiber fuzz, smooths the cellular structure of the cotton strands, and produces a subtle sheen that catches holiday lighting beautifully. In contrast, untreated wool or novelty yarns with a loose twist yield excessive drape, which causes flat tree tips to droop and prevents 3D tree bases from resting flat. By pairing high-twist mercerized cotton with dense stitch execution, you ensure that every needle-like point and tiered branch retains its shape permanently.
Essential Materials, Hook Sizing, and Dimension Specifications
Executing an heirloom-grade ornament depends on selecting an appropriate yarn weight and pairing it with a hook engineered to create dense, closed-gauge fabric. Holiday ornaments do not benefit from the loose drape desired in shawls or blankets; rather, they require a tight, compact weave that holds firm edges or conceals interior polyester fiberfill.
Approved Yarn Weights and Hook Pairings
Depending on your desired ornament scale and silhouette, you can utilize the following approved Craft Yarn Council (CYC) yarn categories alongside recommended ergonomic hooks:
- CYC #1 Super Fine / Fingering: Pair with a 2.25 mm (B-1) or 2.75 mm (C-2) hook for delicate, miniature flat tree appliques and lace-like suspended heirlooms.
- CYC #2 Fine / Sport: Pair with a 2.75 mm (C-2) or 3.25 mm (D-3) hook to achieve crisp stitch definition in small 3D cone ornaments.
- CYC #3 Light / DK: Pair with a 3.25 mm (D-3) or 3.5 mm (E-4) hook for balanced structure, moderate project speed, and excellent surface stability.
- CYC #4 Medium / Worsted: Pair with a 3.5 mm (E-4), 3.75 mm (F-5), or 4.0 mm (G-6) hook for standard flat tree motifs and medium 3D amigurumi ornaments.
A vital principle of dimensional holiday crochet is hook down-sizing: using a crochet hook 1.0 mm to 1.5 mm smaller than stated on yarn ball bands creates a dense, firm fabric gauge that prevents polyester stuffing from migrating between stitches. When working with CYC #4 Worsted yarn—which typically suggests a 5.0 mm or 5.5 mm hook on the commercial label—stepping down to a 3.75 mm (F-5) or 3.5 mm (E-4) hook pulls the single crochet stitches into a compact interlocked grid, completely sealing the core.
Verified Dimensions and Baseline Yardages
To avoid guesswork when planning holiday collections, adhere strictly to these standardized physical dimensions and yardage baselines:
- Mini Flat Tree Applique: 2.5 x 2.0 inches (6.4 x 5.1 cm) | Consumes approximately 15 - 35 yards (14 - 32 m).
- Standard Flat Tree Motif: 4.0 x 3.0 inches (10.2 x 7.6 cm) | Consumes approximately 15 - 35 yards (14 - 32 m).
- Small 3D Cone Tree Ornament: 3.5 in height x 2.0 in base diameter (8.9 x 5.1 cm) | Consumes approximately 40 - 75 yards (37 - 69 m).
- Medium 3D Amigurumi Tree Ornament: 5.0 in height x 3.0 in base diameter (12.7 x 7.6 cm) | Consumes approximately 40 - 75 yards (37 - 69 m).
- Set of 6 Standard Ornaments: Regardless of whether you assemble flat motifs or dimensional cones, crafting a coordinated half-dozen requires 150 - 300 yards (137 - 274 m) in total yarn yardage.
Batch Production Yardage Calculation: The Mass-Proportional Method
When producing ornament sets for craft fairs, family gift exchanges, or full-tree decorating themes, running short on a discontinued dye lot is catastrophic. Estimating yarn consumption based on generic guesses or theoretical stitch counts is inherently inaccurate because individual tension, brand-specific fiber density, and loop lengths vary widely. Skeins are sold strictly by weight and overall length, not by stitch count.
To obtain an exact, scientifically sound measurement of your project's yarn needs, apply the Mass-Proportional Batch Yardage Formula:
Total Yardage = ((Sample Weight in Grams / Skein Net Weight in Grams) * Total Skein Yardage) * Target Quantity * 1.10Follow these five progressive steps to calculate your exact yarn requirements:
- Step 1: Complete and block one prototype ornament, including tails and hanging loop, then weigh it on a digital scale calibrated to 0.1 grams.
- Step 2: Divide the sample weight by the manufacturer's total net weight per skein (e.g., 50g or 100g) to calculate the fraction of the skein consumed.
- Step 3: Multiply this fraction by the full yardage or meterage of the skein to establish unit yarn consumption.
- Step 4: Multiply by the total number of ornaments desired in your production set.
- Step 5: Apply a 1.10 multiplier to incorporate a mandatory 10% safety buffer for tension variations and tail trimming. A 10% to 15% yardage buffer is necessary when calculating production sets to accommodate variation in hanging loop lengths, tension changes, and seam sewing allowances.
Mastering the Flat Tree Motif: Taming Edge Curl and Stiffening
Flat crochet tree ornaments are quick to stitch and exceptionally versatile, but they frequently frustrate makers by curling inward at the edges. When working bottom-up or top-down triangular shapes, row-by-row increases and decreases concentrate mechanical torque on the outer margins. The natural twist of the yarn, combined with uneven lateral tension across turning chains, causes the outer corners to lift and roll forward rather than resting flat against evergreen boughs.
Blocking and Starch Application
Mechanical blocking is non-negotiable for two-dimensional motifs. Wet blocking or starching with rustproof stainless steel pins is required to set flat triangular motifs; non-stainless pins oxidize and cause permanent rust stains on light fibers. Because holiday palettes heavily feature white, cream, and vibrant seasonal hues, ordinary dressmaker pins can ruin hours of work within minutes of moisture contact.
To permanently set your flat tree motifs:
- Submerge the finished motif in lukewarm water until completely saturated, then gently press out excess moisture between clean towels without wringing.
- Pin the ornament onto a high-density blocking board using rustproof stainless steel T-pins. Pin each branch point and trunk base precisely, opening the stitch definition fully.
- Incorporate structural stiffening (blocking spray, diluted PVA glue solution, or textile starch) on flat motifs to counteract the natural curling torque of triangular stitch increases. A solution of 50% PVA craft glue and 50% water painted onto the reverse side of mercerized cotton dries completely clear, imparting durable, cardboard-like stiffness that resists environmental humidity.
- Allow the motif to dry completely for a minimum of 24 hours before removing the pins.
Engineering 3D Conical Ornaments: Seamless Construction and Core Integrity
Three-dimensional cone ornaments mimic miniature fir trees and offer tactile charm. However, without meticulous technique, they frequently develop unsightly spiral seams, visible interior stuffing, or weak suspension points that fail under handling.
Working in Continuous Spirals
Traditional crochet rounds joined with a slip stitch and turning chain create a distinct, diagonal seam that travels up the face of the cone, breaking the visual harmony of your tree tiers. For 3D cone ornaments, work in continuous spiral rounds utilizing a running stitch marker to eliminate visible diagonal joining seams. Instead of joining each tier with a slip stitch, work directly into the first stitch of the previous round. Lay a strand of contrasting thread vertically across the first stitch of each round to monitor your placement effortlessly without distorting the surrounding fabric.
Flawless Tapering with Invisible Decreases
When working from the broad base upward toward the spire, decreasing stitch counts must be executed cleanly. Execute invisible decreases through the front loop only (FLO) when tapering tree crowns to avoid distinct ridges or surface gaping. By inserting your hook under the front loop of the first stitch, then immediately under the front loop of the adjacent stitch before yarning over and completing the single crochet, the decrease mimics a standard single crochet stitch perfectly, leaving zero gap through which polyester stuffing can escape.
Internal Structural Loop Anchoring
One of the most frequent failure points in handmade ornaments is loop separation. Tying a simple strand of embroidery floss around an exterior top stitch creates a high-friction shear point that will eventually snap the yarn fiber. Secure hanging loops through the interior structural apex rather than an exterior single-loop strand to prevent thread breakage under sustained hanging tension.
Thread your hanging cord through the apex of the tree cone before closing the final round and stuffing the lower half. Knot the cord securely inside the inner crown, backed by an interior washer, bead, or a tightly knotted cluster of yarn tails. When the ornament is stuffed and suspended, gravitational load pulls against the interior core and structural fiberfill rather than placing direct tension on a single, vulnerable surface loop.
Troubleshooting Common Holiday Ornament Pitfalls
Even experienced makers encounter unexpected complications when working at small scales. Below is how to diagnose and resolve the primary engineering challenges of tree ornament fabrication:
- Edge Curling on Flat 2D Trees: This is caused by asymmetrical stitch torque along triangular margins. Remedy this by maintaining uniform gauge across edge turning chains and applying a firm wet-blocking treatment with textile stiffener using rustproof stainless steel pins.
- Polyester Fiberfill Protruding Through Fabric: This indicates an overly loose gauge or a hook that is too large for the yarn weight. Step your crochet hook down 1.0 mm to 1.5 mm smaller than the yarn manufacturer's baseline recommendation, and ensure all crown reductions utilize front-loop-only invisible decreases.
- Hanging Loop Detachment: Surface knots lack structural reinforcement. Always drop your loop ends into the interior apex cavity during the early phases of construction, anchoring them internally against the stuffed body before closing the base.
- Loss of Conical Definition and Base Slumping: Over time, standard fiberfill shifts downward under gravity, causing cone trees to bulge around their lower diameter while flattening the bottom disc. Prevent this by cutting a circular template out of flexible, washable plastic (such as a clean food-grade lid) matching the exact base diameter: 2.0 inches for the Small 3D Cone or 3.0 inches for the Medium 3D Cone. Insert this rigid plastic disc into the base of the ornament before closing the bottom stitches to establish a permanent, slump-proof foundation.
Frequently Asked Questions
What is the best fiber content for crocheted Christmas tree ornaments?
100% mercerized cotton (CYC #1 to CYC #3) is preferred for ornaments. Mercerization provides high tensile strength, crisp stitch definition, zero halo, and resistance to sagging, while accepting blocking starch and stiffeners better than acrylic or animal fibers.
Why do flat crochet tree ornaments curl at the corners?
Triangular shaping concentrates row-by-row increases on the outer margins, creating uneven mechanical stress and yarn torque. This is resolved by blocking the completed motif flat using stainless steel T-pins and applying steam or a dilute fabric-stiffening solution.
How do you prevent stuffing from showing through 3D amigurumi tree ornaments?
Select a crochet hook size 1.0 mm to 1.5 mm smaller than recommended by the Craft Yarn Council for that yarn weight (e.g., using a 2.75 mm or 3.25 mm hook with CYC #4 Worsted yarn) and use invisible decreases (invdec) worked exclusively in the front loops.