Magic Ring Crochet Tutorial Step by Step: Master the Basics
Learn how to create a magic ring for crochet projects. Follow our step-by-step guide to ensure a perfect start for your round creations.
WeLovePattern Editorial Team
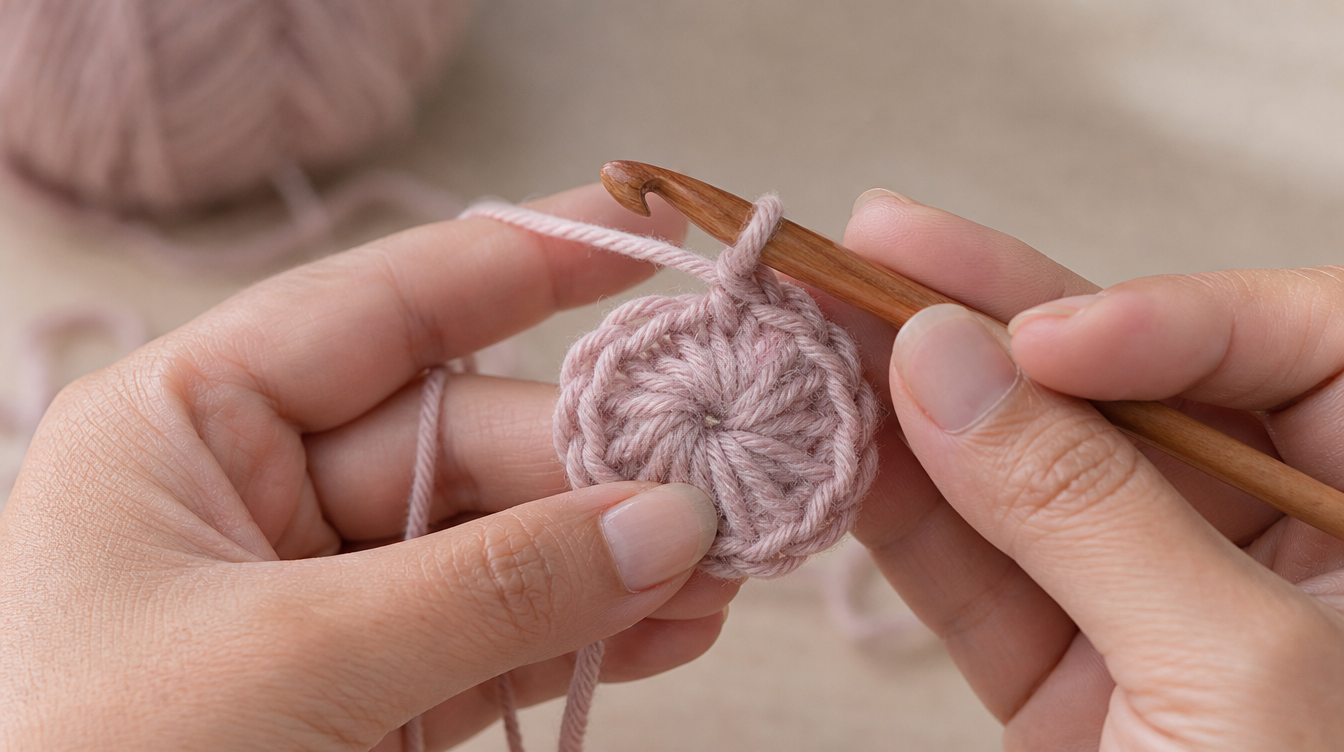
Introduction to the Magic Ring in Crochet
The magic ring, also known as the magic loop, is an essential technique for anyone looking to crochet in the round. This method allows you to start your projects with a tightly closed center, making it ideal for hats, amigurumi, and more. Unlike the traditional chain start, the magic ring offers an adjustable center that can be pulled tight, eliminating any holes in the center of your work. Mastering this technique is key to creating professional-looking, polished crochet pieces.
Materials and Tools You Will Need
Before you begin, gather the following materials:
- Yarn: Opt for CYC #4 Worsted or CYC #3 DK weight yarns. These are ideal for beginners due to their thickness and ease of handling. Worsted weight yarns are versatile and provide a nice balance between weight and manageability, while DK yarns are slightly lighter and can create a finer texture.
- Crochet Hook: Use a 5.0 mm (H-8) or 4.0 mm (G-6) hook depending on your chosen yarn weight. The hook size affects the tension and size of your stitches, so it's crucial to match it with your yarn weight for the best results.
- Scissors: For cutting the yarn cleanly.
- Tapestry Needle: To weave in the ends securely, ensuring your magic ring stays intact and your project looks neat.
Step-by-Step Guide to Creating a Magic Ring
Step 1: Create the Initial Loop
- Hold the yarn tail in your left hand, allowing it to drape over your fingers. The tail should be long enough to weave in later, usually around 6 inches.
- Wrap the yarn around your fingers to form an X, with the working yarn crossing over the yarn tail. This wrap forms the base of your adjustable loop.
This loop will be the base of your magic ring, and it's crucial to ensure it's secure yet adjustable. Take your time to practice wrapping the yarn correctly, as this step is foundational for a tight, neat ring.
Step 2: Insert the Hook
- Insert your hook under the first strand and over the second strand of yarn. This positioning is essential to create the tension needed for a stable loop.
- Pull the second strand under the first strand, creating a loop on your hook. This step locks the yarn in place and forms the loop you'll build your stitches on.
At this point, you have a loop on your hook, which will be the starting point for your stitches. Ensure your loop is not too loose, as this can lead to difficulty in maintaining tension later.
Step 3: Make the First Chain
- Yarn over and pull through the loop on your hook to create a chain. This chain secures the magic ring and sets the stage for your first round of stitches.
The initial chain will help stabilize your ring as you begin your first round of stitches. It's important to make this chain snug but not too tight, to allow for easy stitching in the next steps.
Step 4: Work Your Stitches
- Start crocheting the required number of stitches into the ring. Commonly, projects call for 6 single crochets to begin, but this can vary depending on the project. Make sure to crochet over both strands of the loop to ensure the ring will be adjustable.
This step is where you begin to see the magic ring take shape. Be mindful of your tension here; uneven tension can lead to a ring that won’t close properly or looks uneven.
Ensuring Your Magic Ring Stays Closed
Once you have completed your first round of stitches, it’s time to close the magic ring:
- Hold the working yarn taut with your dominant hand to keep the stitches from loosening.
- With your other hand, pull the yarn tail to tighten the ring. This action will draw the initial loop closed, eliminating any gaps in the center.
Pull the tail firmly but gently to close the loop securely. Finish by weaving in the yarn tail using a tapestry needle to prevent it from loosening over time. This step is crucial for maintaining the integrity of your magic ring, especially in projects like amigurumi where a secure closure is essential.
Common Troubleshooting and Tips
Maintaining Tension
Keeping an even tension is key to a successful magic ring. If your ring loosens, you may need to adjust your grip or practice maintaining a consistent tension while working the stitches. Practicing with scrap yarn can help you get a feel for the right tension before starting on your main project.
Using the Magic Ring for Various Projects
The magic ring is versatile and can be used for any project requiring a closed center. From hats to amigurumi, mastering this technique will enhance the quality of your work. It is particularly useful in projects where a seamless, closed center is desired, providing a polished finish.
Yarn Choices and Their Impact
Choosing the right yarn can significantly affect the outcome of your project. Wool yarns offer elasticity and warmth, making them ideal for wearable items like hats. Acrylic yarns are budget-friendly, durable, and come in a variety of colors, suitable for everyday projects. Cotton yarns provide excellent stitch definition and are great for items that require washability, like baby blankets.
Blocking Your Finished Project
Blocking is a technique used to shape and set your crochet projects once they're finished. It involves wetting or steaming your project to relax the fibers:
- Wet Blocking: Immerse your finished project in water, gently squeeze out excess moisture, and pin it into shape on a flat surface. This method is suitable for natural fibers like wool.
- Steam Blocking: Use a steam iron or steamer to lightly steam your project while it is pinned in place. This method is effective for acrylic and synthetic fibers that don't respond well to wet blocking.
Blocking helps to even out stitches and improve the overall appearance of your finished item, especially in projects like blankets where even edges are desired.
Calculating Yarn Needs for Larger Projects
When planning larger projects like blankets, it's important to accurately calculate the amount of yarn you'll need. This is where the Area Ratio Swatch Scaling Method comes in handy:
- Step 1: Measure the dimensions of your swatch.
- Step 2: Calculate the area of your swatch (length x width).
- Step 3: Calculate the area of your blanket using the verified dimensions provided, such as 30 x 36 inches for a Baby Blanket.
- Step 4: Use the formula: Total Yardage = (Blanket Area / Swatch Area) * Swatch Yardage * 1.10. This accounts for a 10% buffer to ensure you have enough yarn.
This method helps avoid running out of yarn mid-project and ensures you can complete your work without unexpected interruptions.
Frequently Asked Questions
How do I ensure my magic ring stays closed?
Ensure you pull the tail tightly after completing the first round of stitches, and weave in the end securely. This prevents the ring from loosening over time.
Can I use a magic ring for any round crochet project?
Yes, it is commonly used for starting hats, amigurumi, and any project worked in the round where a closed center is preferred. It's a versatile technique that enhances the finish of your projects.
What is the difference between a magic ring and a chain start?
A magic ring creates an adjustable center that can be tightened, while a chain start leaves a small hole in the center. The magic ring provides a more seamless look, particularly useful in projects requiring a closed center.
By mastering the magic ring, you’ll add a valuable skill to your crochet toolkit, allowing for versatile and professional-quality projects. Happy crocheting!