Master Seamless Joins: How to Join Granny Squares
Discover techniques to join granny squares seamlessly with slip stitch, whipstitch, and mattress stitch for a flawless crochet project.
WeLovePattern Editorial Team
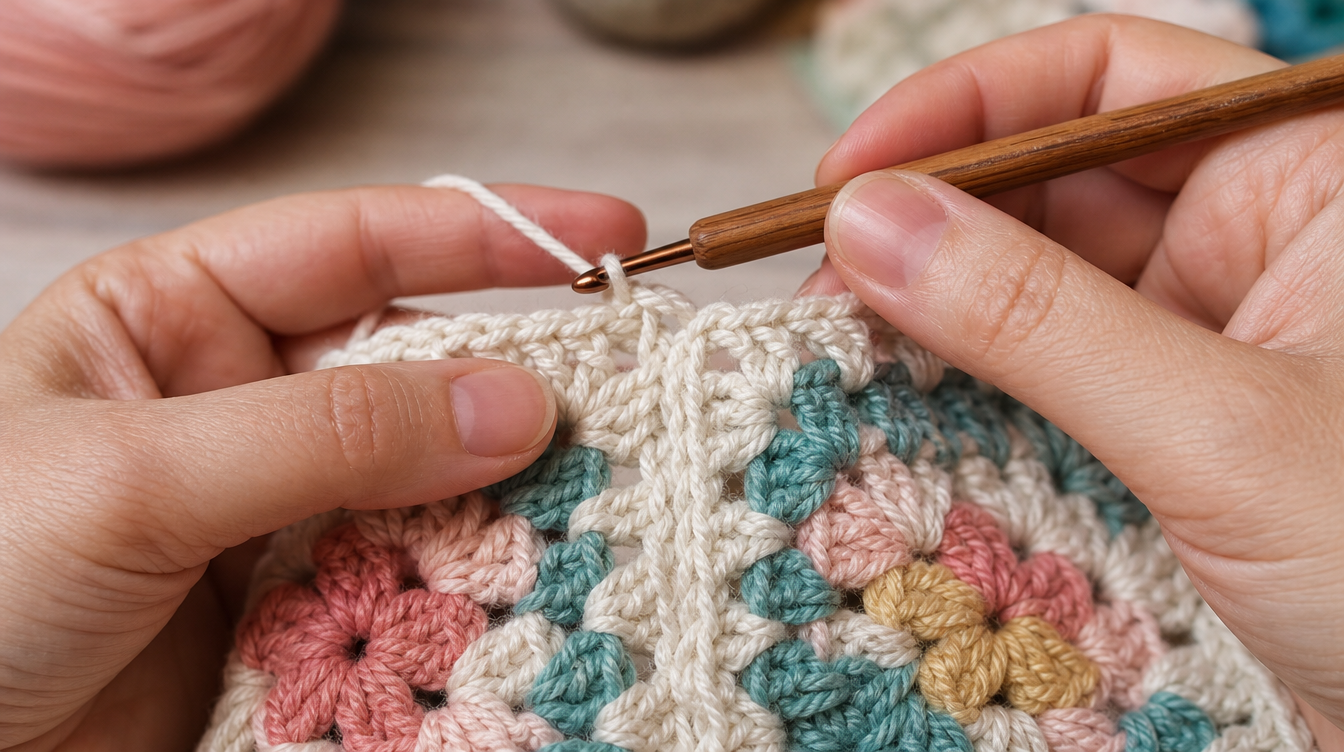
Introduction to Seamless Granny Square Joins
Granny squares are a beloved staple in the crochet community, known for their versatility and charm. However, many crafters face the challenge of joining these squares without visible seams. If you’re striving for that elusive flawless finish, you’ve come to the right place. This guide will walk you through seamless joining techniques using slip stitch, whipstitch, and mattress stitch, ensuring your finished piece is polished and professional.
Materials and Tools
To achieve a seamless join for your granny squares, it’s crucial to use the right materials and tools:
- Yarn: Use CYC #4 Worsted or CYC #3 DK yarn for consistency. Mixing yarn weights is not recommended as it may lead to uneven tension and size discrepancies. Each type of yarn offers unique properties: wool provides warmth and elasticity, acrylic is versatile and easy to maintain, and cotton offers breathability and durability.
- Crochet Hooks: Choose a 5.0 mm (H-8) or 4.0 mm (G-6) hook, depending on your yarn weight. Using the correct hook size helps maintain consistent tension across your squares, crucial for seamless joins.
- Tapestry Needle: Essential for weaving in ends and using the whipstitch or mattress stitch techniques. A blunt-tipped needle is ideal to prevent splitting yarn fibers.
- Scissors: For cutting yarn. A sharp pair ensures clean cuts, reducing the chance of frayed ends.
- Blocking Tools: Blocking mats and pins are essential for setting the shape of your squares before joining.
Techniques for Seamless Joins
1. Slip Stitch Join
The slip stitch is often recommended for a seamless join due to its minimal bulk. Here’s how to do it:
- Align two granny squares with the right sides facing each other.
- Insert your hook through the first corner stitches of both squares.
- Yarn over and pull through all loops on the hook to create a slip stitch.
- Continue slip stitching across the edges, ensuring even tension.
This method is perfect for a nearly invisible seam, maintaining the integrity of your design. It requires practice to maintain consistent tension, which is vital to avoid puckering or gaps.
2. Whipstitch Join
The whipstitch is a secure and straightforward method, ideal for beginners:
- Place two squares side by side with right sides facing up.
- Thread a tapestry needle with yarn that matches your squares.
- Insert the needle through the corner stitches of both squares, pulling the yarn through.
- Continue to whip the needle around the edges, ensuring stitches are even.
This technique is user-friendly and provides a sturdy join. It’s essential to maintain an even whip to prevent the seam from becoming too tight or too loose, which could distort the shape of your squares.
3. Mattress Stitch Join
The mattress stitch is excellent for aligning stitches seamlessly:
- Lay your squares flat with the right sides facing up.
- Thread a tapestry needle with matching yarn.
- Work from the bottom up, weaving the needle between the edges of the squares, staying as close to the edge as possible.
- Pull gently to tighten the stitches, making the seam disappear.
This method is favored for its ability to create a clean, flat seam. It requires attention to detail as you align the stitches, ensuring they match perfectly to avoid any shift in the pattern alignment.
Planning Your Project
Before diving into your project, calculate the yarn needed using the Area Ratio Swatch Scaling Method:
- Measure the area of one granny square. This involves calculating the length and width of the square and multiplying these dimensions to find the area.
- Calculate the total blanket area using verified dimensions, such as a Baby Blanket (30 x 36 inches). Multiply the length by the width to find the total area.
- Use a swatch to determine the yardage used for one square. Crochet a sample square and measure the yarn used to complete it.
- Apply the formula: Total Yardage = (Blanket Area / Swatch Area) * Swatch Yardage * 1.10. This calculation incorporates a 10% safety buffer, ensuring you have enough yarn to complete your project.
This calculation ensures you have enough yarn, accounting for variations in tension and potential errors.
Blocking Your Granny Squares
Blocking is an essential step in ensuring your granny squares are uniform in size and shape before joining them. There are two primary methods:
Wet Blocking
Wet blocking involves soaking your squares in water, gently squeezing out excess moisture, and pinning them to shape on a blocking mat. Allow them to dry completely. This method is highly effective for natural fibers like wool.
Steam Blocking
Steam blocking uses a steam iron or steamer. Hover over the squares, allowing the steam to set the shape without direct contact. This quick method works well for acrylic yarn, which reacts to heat by setting its shape.
Troubleshooting Common Issues
When joining granny squares, you might encounter some common issues:
- Uneven Tension: This often results in mismatched square sizes. Consistent tension is crucial, and using stitch markers can help maintain it.
- Border Curling: Blocking your squares can prevent curling. If curling persists, ensure your tension is not too tight, and consider using a border stitch that naturally lies flat.
- Difficulty in Aligning Squares: Use pins or clips to hold squares in place while joining, ensuring corners and edges are perfectly aligned before securing them.
Tips for Perfect Joins
- Ensure Consistent Tension: Keep your tension even to maintain square size consistency. Regular practice and checking your work frequently can help you achieve this.
- Align Squares Perfectly: Use stitch markers to align starting points and corners. This ensures that your squares fit together like puzzle pieces, maintaining the overall design integrity.
- Avoid Mixing Yarn Weights: Stick to one yarn weight to prevent uneven joins. Mixing different weights can lead to one square being smaller or larger, disrupting the overall balance.
- Practice Makes Perfect: As with all crochet techniques, practice is key. Experiment with different joining methods to find the one that works best for your style and project.
Frequently Asked Questions
What is the best stitch for joining granny squares seamlessly?
Slip stitch is often recommended for a seamless join due to its minimal bulk.
How do I ensure my granny squares are the same size?
Ensure consistent tension and use the same hook size and yarn weight for all squares.
Can I mix different yarn weights in one project?
Mixing yarn weights is not recommended as it can lead to uneven tension and sizing issues.
Conclusion
Mastering the art of joining granny squares seamlessly will elevate your crochet projects to new heights. By using the slip stitch, whipstitch, or mattress stitch methods, you can achieve a professional, polished finish that showcases your craftsmanship. Remember to plan your project carefully, maintain consistent tension, and enjoy the creative process. With practice and patience, your crochet creations will become treasured pieces that highlight your dedication and skill.