Master the Classic Granny Square Blanket Pattern
Discover how to crochet a classic granny square blanket with our comprehensive guide, including materials, techniques, and helpful tips.
WeLovePattern Editorial Team
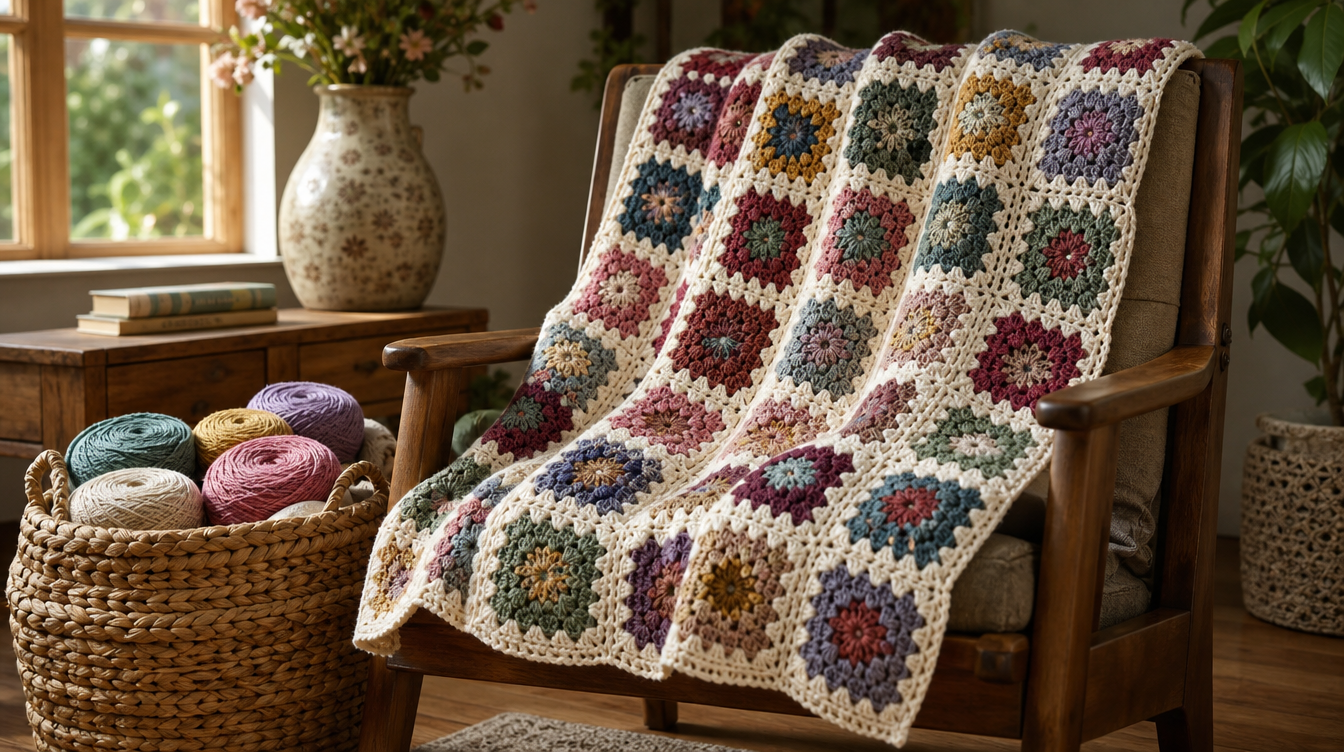
Introduction to the Classic Granny Square Blanket
The classic granny square blanket is an enduring favorite among crochet enthusiasts for its timeless design and versatility. Whether you're a beginner or an experienced crafter, creating a granny square blanket offers a delightful way to explore color combinations and crochet techniques. In this guide, we'll walk you through the entire process of making your own classic granny square blanket, from selecting the right materials to joining your squares and finishing your project.
Materials Needed
Before diving into the project, gather all the necessary materials:
- Yarn: Opt for CYC #4 Worsted yarn for a balance of durability and softness. This weight is ideal for creating a warm, sturdy blanket. Alternatively, CYC #3 DK yarn can be used if you prefer a lighter, more delicate finish.
- Crochet Hook: Use a 5.0 mm (H-8) hook for worsted weight yarn or a 4.0 mm (G-6) hook for DK weight. These sizes ensure the correct gauge and structure for your squares.
- Scissors: To cut yarn neatly at the end of each square or when changing colors.
- Tapestry Needle: For weaving in ends and joining squares.
Fiber Choices
Choosing the right fiber for your yarn can significantly impact the feel and longevity of your blanket. Here are some considerations:
- Wool: Offers excellent warmth and elasticity, making it ideal for cold climates. However, wool can be more challenging to care for and may cause allergies in sensitive individuals.
- Acrylic: A budget-friendly option that is machine washable and durable. Acrylic yarns are generally softer and come in a wide range of colors.
- Cotton: Perfect for warmer climates, cotton is breathable and absorbent. It provides a sturdy and smooth texture but lacks the elasticity of wool or acrylic.
Understanding the Granny Square Technique
The classic granny square is composed of rounds of double crochet stitches separated by chain spaces. Here’s a basic breakdown:
- Start with a magic circle or chain 4 and join to form a ring.
- Round 1: Chain 3 (counts as a double crochet), 2 double crochet into the ring, chain 2, *3 double crochet into the ring, chain 2*; repeat from * to * two more times, join with a slip stitch to the top of the starting chain.
- Round 2: Slip stitch to the first chain-2 space, chain 3, 2 double crochet in the same space, chain 2, 3 double crochet in the same space, *3 double crochet, chain 2, 3 double crochet in the next chain-2 space*; repeat from * to * two more times, join with a slip stitch.
- Round 3 and beyond: Continue expanding your square by working 3 double crochet, chain 2, 3 double crochet in each corner chain-2 space, and 3 double crochet in each chain-1 space along the sides.
Calculating Yarn Requirements
Calculating the correct amount of yarn is crucial to avoid shortage issues. The Area Ratio Swatch Scaling Method is a reliable way to determine your needs:
- Crochet a Swatch: Make a small granny square, measure its area, and calculate the yardage used. This will provide a baseline for estimation.
- Calculate Blanket Area: Determine the area of your desired blanket size using its dimensions (e.g., Baby Blanket: 30 x 36 inches).
- Apply Formula: Use the formula Total Yardage = (Blanket Area / Swatch Area) * Swatch Yardage * 1.10. This accounts for the entire blanket size.
- Add Buffer: A 10% buffer is included to accommodate any variations in tension or pattern changes.
Constructing Your Blanket
Once your granny squares are ready, it’s time to join them:
Joining Methods
- Slip Stitch Join: Align two squares and work slip stitches through the back loops only. This creates a flat and subtle seam.
- Whip Stitch Join: Use a tapestry needle to sew squares together with a whip stitch. This method is less visible and allows some flexibility.
- Crochet Join: Single crochet the squares together for a visible seam that can add texture to your blanket.
Arranging Your Squares
Experiment with different layouts before joining to achieve your desired pattern. You can alternate colors or create a gradient effect for added visual interest. Consider laying out your squares on a flat surface to visualize the final design.
Blocking Your Squares
Blocking helps to even out each square and improve the overall appearance of your blanket. There are two primary methods:
- Wet Blocking: Soak your squares in lukewarm water, gently squeeze out excess water, and pin them to a blocking mat in the correct shape. Allow them to dry completely.
- Steam Blocking: Use a steam iron or garment steamer to lightly steam your squares into shape without pressing directly on the fabric. This method is quicker and works well on acrylic yarns.
Troubleshooting and Tips
Achieving Consistent Tension: Maintain even tension to ensure uniform squares. Practice and adjust your grip as necessary. Using a consistent hook size and yarn weight also helps.
Preventing Yarn Shortages: Use the calculated yardage and purchase extra yarn of the same dye lot to ensure color consistency across your blanket.
Neat Joins: Take care to keep joins tidy by weaving in ends securely. This ensures durability and a polished look.
Handling Border Curling
Curling edges can be frustrating. To combat this, ensure your final round of double crochet stitches is not too tight. Blocking the entire blanket can also help to relax the fibers and flatten the edges.
Variations and Customizations
Personalize your granny square blanket with these ideas:
- Color Changes: Introduce new colors within or between squares for dynamic designs. This adds interest and can reflect personal style or match room decor.
- Textured Stitches: Incorporate bobbles or puff stitches to add dimension, keeping in mind these consume more yarn due to their bulk.
- Edging: Add a border in a complementary color to frame your blanket beautifully. Common options include scalloped edges or simple single crochet borders.
Frequently Asked Questions
What is the best yarn for a granny square blanket?
CYC #4 Worsted yarn is commonly recommended for its balance of durability and softness. It's a versatile choice that suits most granny square projects.
How do I join granny squares?
Squares can be joined using slip stitch, whip stitch, or by crocheting them together, depending on the desired look. Each method offers a different finish, so choose based on your aesthetic preference.
Can I use different yarn weights in one blanket?
Mixing yarn weights can result in uneven squares and an inconsistent blanket texture; it's best to use yarns of the same weight for consistency.
With this comprehensive guide, you are well-equipped to create a stunning classic granny square blanket. Enjoy the process of making each square, and remember that every stitch brings you closer to a beautiful, handcrafted piece that will be cherished for years to come.