How to Crochet a Chunky Ribbed Beanie: Complete Guide
Master the art of crocheting a chunky ribbed beanie with our detailed guide, covering materials, techniques, and step-by-step instructions.
WeLovePattern Editorial Team
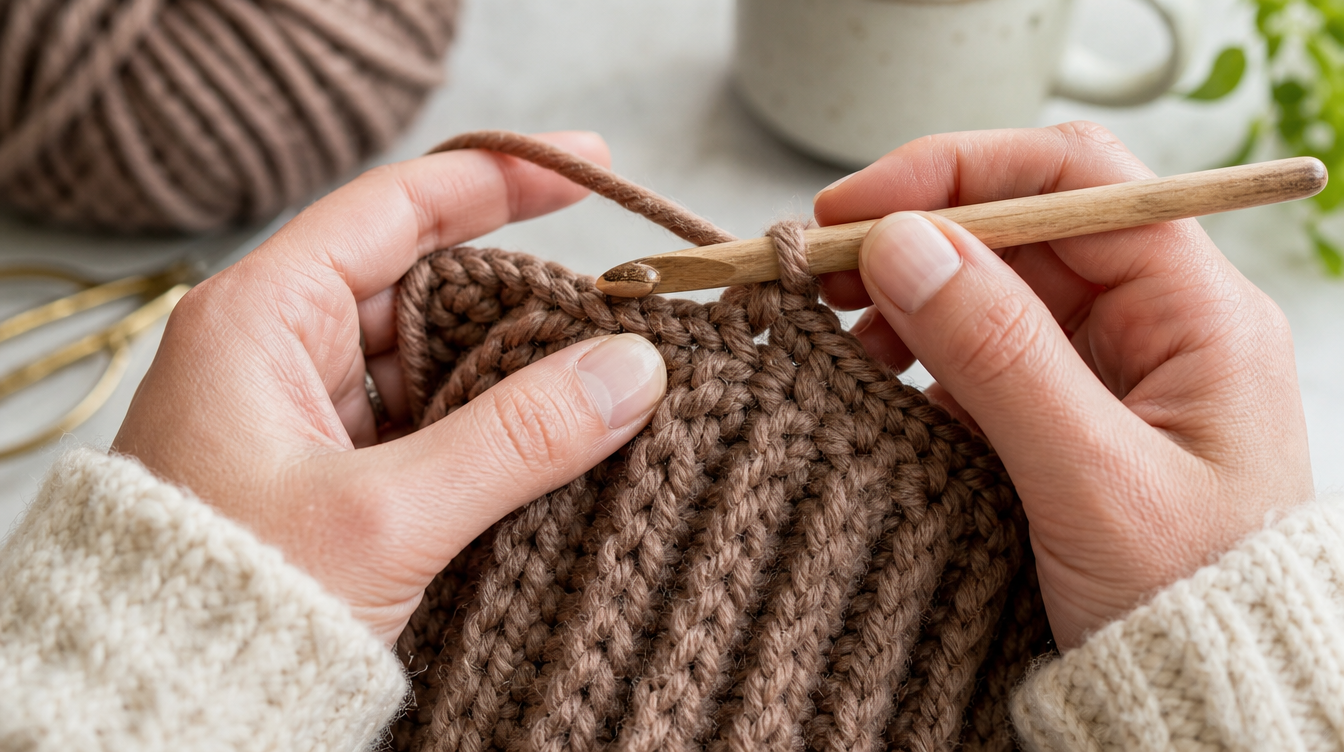
Introduction to Crocheting a Chunky Ribbed Beanie
Crocheting a chunky ribbed beanie is a rewarding project that combines style, warmth, and creativity. This comprehensive guide will provide you with all the necessary steps and tips to successfully create a beanie that not only fits perfectly but also boasts a visually appealing ribbed texture. We'll delve into the essential materials, detailed techniques, and solutions to common issues encountered during the crocheting process.
Materials Needed
Yarn Selection
Choosing the right yarn is crucial for achieving the desired chunky texture. A CYC #5 Bulky yarn is recommended due to its thickness and ability to provide warmth. The yarn's structure enhances the ribbed effect, making it stand out. Plan to have approximately 100 to 150 meters of yarn for the project. It is advisable to include a 10% to 15% safety buffer to ensure you do not run short, especially since textured stitches like FPDC and BPDC consume more yarn than flat stitches.
When selecting yarn, consider fiber types like wool, acrylic, or cotton. Wool offers natural warmth and elasticity, making it ideal for cold weather. Acrylic is durable, cost-effective, and available in various colors, while cotton provides breathability, though it may lack elasticity compared to wool or acrylic.
Hook Size
For this beanie, the recommended hook sizes are 6.5 mm (K-10.5) and 8.0 mm (L-11). The choice between these sizes depends on your natural tension and the gauge swatch results. A larger hook size may be beneficial for looser tension, while a smaller hook can help achieve tighter stitches. Always start with a gauge swatch to determine the best hook size for your yarn and tension.
Additional Tools
- Scissors for cutting yarn
- Tapestry needle for weaving in ends and seaming
- Measuring tape for checking gauge and dimensions
- Stitch markers to keep track of rounds
Stitch Techniques
Front Post Double Crochet (FPDC) and Back Post Double Crochet (BPDC)
The ribbed texture of the beanie is achieved using Front Post Double Crochet (FPDC) and Back Post Double Crochet (BPDC) stitches. These stitches create a raised effect, adding depth and texture to the fabric. Mastering these stitches is key to producing a consistent ribbed pattern. Here’s how to execute them:
- FPDC: Yarn over, insert the hook from front to back around the post of the next stitch, yarn over and pull up a loop, yarn over and draw through two loops on the hook twice.
- BPDC: Yarn over, insert the hook from back to front around the post of the next stitch, yarn over and pull up a loop, yarn over and draw through two loops on the hook twice.
Step-by-Step Construction
Step 1: Create the Band
Start by making a foundation chain that fits comfortably around the head. The band is typically worked in rows using alternating FPDC and BPDC stitches to create the ribbed effect. It should be snug enough to stay in place but not too tight. Aim for a slight stretch in the band to ensure comfort.
Step 2: Join the Band
Once the band reaches the desired length, join the ends with a slip stitch to form a loop. Ensure the band is not twisted before joining. This will serve as the foundation for the rest of the beanie.
Step 3: Crochet the Body
With the band complete, continue working in rounds to build the body of the beanie. Maintain the ribbed pattern established by the band using FPDC and BPDC stitches. This ensures a cohesive look from the band to the top of the beanie.
Step 4: Decrease Rounds
As you approach the top of the beanie, begin decreasing stitches to shape the crown. This is typically achieved by reducing the number of FPDC and BPDC stitches in each round. Decreasing can be done over several rounds to help maintain the pattern and avoid abrupt changes in the beanie's shape.
Step 5: Finishing
Once the crown is closed, fasten off the yarn securely. Use a tapestry needle to weave in any loose ends neatly, ensuring no ends stick out. This not only secures your work but also enhances the overall appearance of the beanie.
Sizing and Fit
To ensure the beanie fits properly, creating a gauge swatch is essential. A gauge swatch helps determine if the number of stitches and rows per measurement matches the pattern's requirements. Adjust your hook size or tension if the gauge swatch does not align with the pattern. This step is crucial as bulky yarn often has limited stretch, affecting the final fit.
Blocking the Beanie
Blocking is an optional but beneficial step to improve the beanie's shape and texture. Depending on the yarn type, you can choose between wet and steam blocking:
- Wet Blocking: Submerge the beanie in lukewarm water, gently squeeze out excess water, and lay flat to dry, shaping it as desired.
- Steam Blocking: Hold a steam iron above the beanie, allowing steam to penetrate without direct contact. Shape the beanie while it is warm and let it cool in shape.
Troubleshooting Common Issues
Throughout the process, you may encounter common challenges:
- Inconsistent Tension: If your ribbing is uneven, focus on maintaining consistent tension with each stitch. Practicing even tension helps achieve a uniform appearance.
- Incorrect Fit: Should the beanie not fit as expected, revisit your gauge swatch and adjust your hook size or tension accordingly.
- Border Curling: If the edges curl, ensure you are not pulling stitches too tightly and consider blocking the beanie to relax the fabric.
Helpful Tips for Success
- Maintain Consistent Tension: Uneven tension can lead to inconsistent ribbing. Practice even tension to achieve a professional finish.
- Check Your Gauge: Always start with a gauge swatch to ensure the beanie will fit correctly.
- Monitor Yarn Usage: Keep an eye on yarn consumption, especially when using textured stitches, which use more yarn than flat stitches.
- Experiment with Colors: Don't hesitate to try different color combinations or variegated yarn for a unique look.
Frequently Asked Questions
What is the best yarn type for a chunky ribbed beanie?
A CYC #5 Bulky yarn is recommended for a chunky ribbed beanie for its thickness and warmth.
How do I ensure my beanie fits properly?
Use a gauge swatch. Adjust hook size or tension if the gauge does not match the pattern's requirements.
Why is my ribbing not consistent?
Inconsistent tension or incorrect stitch technique can lead to uneven ribbing. Practice even tension and ensure correct use of FPDC and BPDC stitches.