How to Fix Uneven Crochet Edges with Ease
Learn practical methods to correct and prevent uneven crochet edges, ensuring professional, uniform results in your projects.
WeLovePattern Editorial Team
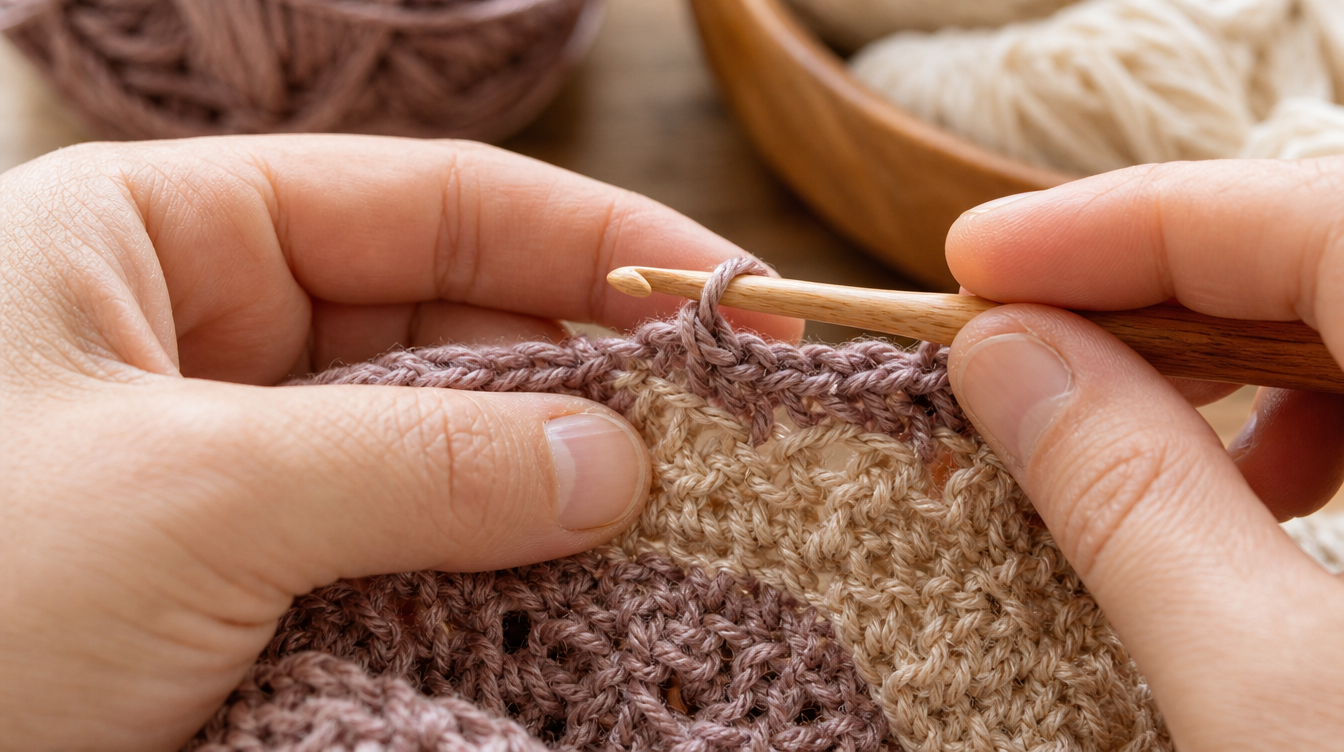
Understanding Uneven Crochet Edges
Crochet edges can become uneven due to a variety of factors such as inconsistent tension, incorrect stitch count, or improper turning at the end of each row. These irregularities can lead to a finished product that looks less professional, which can be frustrating after investing significant time and effort into a project. In this article, we explore methods to fix these issues and achieve smooth, even edges in your crochet work.
Materials and Tools You'll Need
- Yarn: Choose from CYC #4 Worsted or CYC #3 DK weight yarns for best results. These yarns provide suitable thickness and are versatile for various projects.
- Crochet Hook: Use a 5.0 mm (H-8) or 4.0 mm (G-6) hook to match your yarn choice. The right hook size ensures that your stitches are neither too tight nor too loose, contributing to even edges.
- Stitch Markers: Essential for marking row beginnings and ends, stitch markers help avoid mistakes in stitch count that can lead to uneven edges.
- Tape Measure: To measure swatches and final project dimensions. Accurate measurements are crucial for calculating yarn needs and ensuring your project meets desired dimensions.
Step-by-Step Guide to Fixing Uneven Edges
Step 1: Maintain Consistent Tension
Inconsistent tension is a common culprit behind uneven edges. Practice maintaining a steady grip on your yarn and hook, ensuring your stitches are uniform in size. If tension varies, your edges will reflect these changes. To practice, consider making small swatches, focusing on maintaining the same tension throughout. Over time, your muscle memory will adapt, leading to more consistent tension in your projects.
Step 2: Use Stitch Markers
Stitch markers are invaluable for keeping track of the beginning and end of each row. This simple tool helps prevent accidentally adding or dropping stitches, which can result in uneven edges. Place a marker in the first and last stitch of every row to easily identify where your rows start and end.
Step 3: Count Your Stitches
At the end of each row, count your stitches to ensure they match the pattern's requirements. This habit will alert you to any discrepancies early on, allowing for quick corrections before they compound. Regular counting not only aids in maintaining straight edges but also helps in identifying if you’ve accidentally skipped or added a stitch.
Step 4: Consistent Turning
Always turn your work in the same direction at the end of each row. This practice helps maintain the same twist and flow to your stitches, contributing to even edges. Consistent turning prevents the yarn from twisting inconsistently, which can affect the overall tension of your stitches.
Step 5: Correcting Finished Projects
For projects already completed, consider adding a border to even out edges. Choose a simple stitch, such as single crochet, to frame your work neatly. Alternatively, blocking can help align and shape your project to improve edge uniformity. Blocking involves either wetting or steaming your piece, then pinning it to the desired shape. This process can significantly improve the look of your edges by relaxing the fibers and evening out stitches.
Calculating Yardage for Borders
When adding a border, calculate the necessary yarn using the Area Ratio Swatch Scaling Method. Measure the area of your project and swatch, then apply the formula:
Total Yardage = (Project Area / Swatch Area) * Swatch Yardage * 1.10
This calculation ensures you have enough yarn to complete the border with a 10% buffer for safety. The buffer accounts for any additional yarn that may be needed due to variations in stitch tension or pattern complexity.
Understanding Fiber Choices
The type of fiber you choose can impact the ease of maintaining even edges. Wool, for instance, is slightly elastic, which can help in keeping a consistent tension. Acrylic is less elastic but durable and easy to care for, making it a good choice for beginners. Cotton, while less forgiving due to its lack of elasticity, provides excellent stitch definition, which can help in identifying stitch inconsistencies early on. Choose your fiber based on the project’s purpose and your comfort with handling the yarn type.
Blocking Procedures: Wet vs. Steam Blocking
Blocking is an essential technique to enhance the appearance of your crochet work. Wet blocking involves soaking the finished piece in water, gently squeezing out excess water, and pinning it to shape. This method is effective for wool and cotton fibers. Steam blocking, on the other hand, uses steam from an iron to relax the stitches without saturating the piece. This is suitable for acrylic yarn, which doesn’t absorb water well. Both methods help in setting the stitches and can correct minor edge inconsistencies.
Practical Troubleshooting for Uneven Tension or Border Curling
Uneven tension can often result in borders curling. To address this, ensure that your tension remains consistent, especially when transitioning from the main body of the work to the border. If a border curls, try using a larger hook for the border rows to provide more flexibility and drape. Additionally, applying a border with a stitch pattern that complements the main fabric can prevent curling. For instance, a reverse single crochet stitch can add stability to the edge.
Helpful Tips and Variations
- Choose a Complementary Yarn: If adding a border, select a yarn color that complements your main project for a cohesive look. The choice of color can enhance the visual appeal and professionalism of your project.
- Experiment with Stitches: Borders allow you to experiment with different stitches, such as scallops or shells, to add interest. These stitches not only enhance aesthetics but also help in achieving a more balanced edge.
- Swatch Frequently: Create swatches to practice maintaining tension and to test stitch patterns before committing to the full project. Swatching helps in predicting how the yarn will behave and aids in planning the project more effectively.
Frequently Asked Questions
How can I prevent my crochet edges from becoming uneven?
Ensure consistent tension and use stitch markers to keep track of row beginnings and ends. Count your stitches at the end of each row to maintain the correct number.
What causes crochet edges to become uneven?
Uneven edges can be caused by inconsistent tension, incorrect stitch count, or not turning your work consistently at the end of each row.
Can I fix uneven edges on a finished project?
Yes, you can add a border to even out edges or frog sections to correct stitch counts. Blocking the project can also help improve edge uniformity.
Conclusion
Fixing uneven crochet edges is a matter of applying consistent techniques and practices. By maintaining uniform tension, using stitch markers, and being diligent about counting stitches, you can achieve beautifully even edges on all your crochet projects. Remember, practice makes perfect, so don't be discouraged by initial challenges. Happy crocheting!